
Have you ever tried to do the partitioning of hard disk larger than 2TB using fdisk utility and wondered why you end up getting a warning to use GPT? Yes, you got that right. We cannot partition a hard disk larger than 2TB using fdisk tool.
In such cases, we can use parted command. The major difference lies in the partitioning formats that fdisk uses DOS partitioning table format and parted uses GPT format.
TIP: You can use gdisk as well instead of parted tool.
In this article, we will show you to add a new disk larger than 2TB to an existing Linux server such as RHEL/CentOS or Debian/Ubuntu.
I am using fdisk and parted utilities to do this configuration.
First list the current partition details using fdisk command as shown.
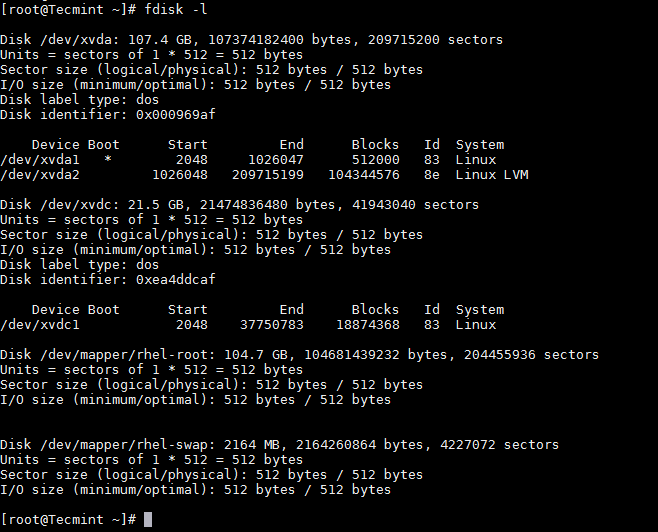
For the purpose of this article, I am attaching a hard disk of 20GB capacity, which can be followed for disk larger than 2TB as well. Once you added a disk, verify the partition table using same fdisk command as shown.

Tip: If you are adding a physical hard disk, you may find that partitions already created. In such cases, you can use fdsik to delete the same before using parted.
Use d switch for the command to delete the partition and w to write the changes and quit.

Important: You need to be careful while deleting the partition. This will erase the data on the disk.
Now its time to partition a new hard disk using parted command.
Set the partition table format to GPT
Create the Primary partition and assign the disk capacity, here I am using 20GB (in your case it would be 2TB).

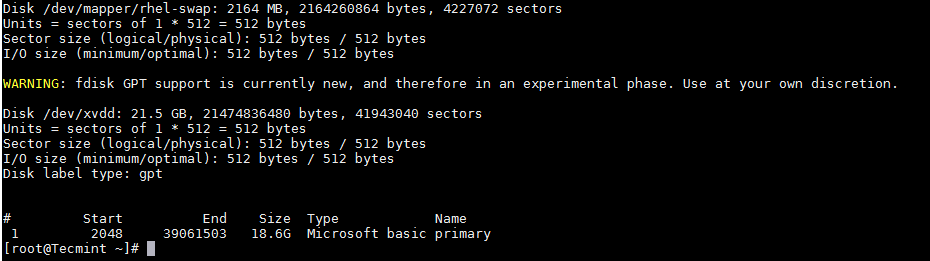
Just for curiosity, let’s see how this new partition is listed in fdisk.
Now format and then mount the partition and add the same in /etc/fstab which controls the file systems to be mounted when the system boots.
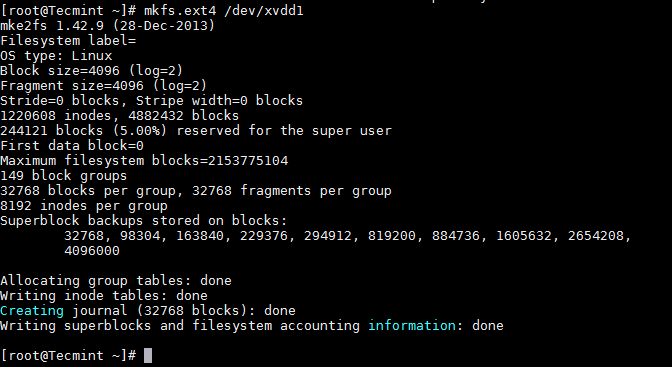
Once partition has been formatted, now it’s time mount the partition under /data1.
For permanent mounting add the entry in /etc/fstab file.
Important: Kernel should support GPT in order to partition using GPT format. By default RHEL/CentOS have Kernel with GPT support, but for Debian/Ubuntu you need to recompile the kernel after changing the config.
Source articel : https://www.tecmint.com/add-disk-larger-than-2tb-to-an-existing-linux/


Mantap haam ... lanjutkannn, jangan lupa mampir balik yap
ReplyDelete